


- What defines Resin 3D printing?
- How are Resin printers constructed?
- How Resin printers form an object?
- How does Resin 3D printing work?
- What types of post-processing do resin prints require?
- What SLA materials are there?
- Advantages of Resin Printing
- Disadvantages of Resin printing
- How do you use SLA and Resin 3D printing
- What different resin printing technologies are there?
Resin 3D printing is an umbrella term for the family of additive manufacturing technologies that cure liquid photopolymers layer-by-layer into a solid object.
Resin printing is not an official title for the whole group but since these machines work with resin materials, it’s a simpler way to describe them all. Alternatively, you may come across terms like Stereolithography or VAT Polymerization printing.
What defines Resin 3D printing?
- they use a principle of photopolymerization to create objects;
- they operate according to a code (or a machine creates a code straight from an uploaded digital model);
- as a material, they use UV or daylight resins (photopolymers);
- the material is stored in a vat (bath/resin tank).
Photopolymerization is a chemical reaction of a liquid material that changes its properties when subjected to light (UV, laser, etc.). The scientific term for such liquids is photopolymers or light-activated resins, and in 3D printing, they are just referred to as resins.
There are different types of photopolymerization reactions and the outcomes, but the one used in 3D printing is solidifying. A liquid resin, basically, turns solid under a proper wave light. Light sources can be different such as lasers, projectors, LCD panes, which defines the technology type.
How are Resin printers constructed?
Typically, resin 3D printers consist of a light source, build platform (or build plate) where the object is formed, mirrors and a resin tank. Other tools and features may vary.
How Resin printers form an object?
Resin 3D printers can form an object normally or upside down, depending on how the components are positioned inside the machine and whether the build platform drops down or lifts up. Upside-down orientation is more common for desktop machines because it’s easier to operate and fabricate without losing out on quality. The critical factor with upside-down resin printers is the print adhesion and supporting structures, preventing a part from falling down due to gravitational pull.
How does Resin 3D printing work?
- The resin tank is filled with resin material either manually or automatically. If a specialist fills the resin manually, they should be careful to avoid skin contact because some resins may be toxic.
- The machine descends the build platform down (or lifts up) to create a thin layer of resin touching the build plate.
- A light source draws the pattern of a single layer in the resin, causing it to solidify.
- The platform moves to allow the uncured (non-solid) resin to come through and form a new thin layer above the plate.
- If a unit is equipped with a roller, it would go across the building area to make sure the resin lies perfectly.
- The steps are repeated until the entire object is formed. Once the process is complete, the object is removed from the machine for post-processing.
What types of post-processing do resin prints require?
Compared to other 3D printing methods, resin printing is a technology that always requires post-processing. The primary steps for a freshly printed object are:
- Washing – it’s needed to remove uncured resin leftovers from a print. In order to do so, prints are put into alcohol, water, or at least left to dry on some paper towels.
- UV-curing – prints are exposed to sunlight or a UV-lamp to strengthen and solidify better. While printing, each layer is exposed to light for just several seconds, so post-curing is a must.
- Supports removal – this involves removing all supporting structures from an object. Resin printing requires many tree-like supports to hold an object and stick it to a build plate to prevent a part from falling. Usually, these supports are quite easy to remove but it can still be a time-consuming process that requires being careful so as to avoid cutting too much from the object’s volume.
In addition to the mentioned post-processing steps, resin prints can go through additional post-processing such as:
- Sanding - to remove taps from areas where supports touched an object and smooth the surface or make it matte. It can be performed with dry sanding tools or wet sanding. The latter involves using special liquids, polishers or just adding water to common sanding papers. Wet sanding is capable of giving a smoother surface to a print.
- Patching escape holes – to reduce the cost of photopolymers, models can be designed to be hollow. Thus, they’ll have escape/vent holes to release resin from the inside, which may be not aesthetically pleasing. So, patching is a post-process step when these holes are manually closed with resin or other materials to improve the structure and appearance.
- Finishing - covering parts with special compositions or coatings to strengthen a part and hide imperfections. Alternatively, people do priming, which prepares a surface to receive a lick of paint. For some resins, a coating is important to prevent material from over curing and degrading under UV over time.
- Painting - is available with a range of colors and compositions.
- Polishing - using special compounds is done to make the surface even more clear and smooth, especially to bring back the transparency after sanding. This step is crucial for getting a glass-clear result.
Processes mentioned above can be done either manually or with special tools and devices. There are washing, curing, and sanding machines available ranging from desktop semi-automated units to turnkey industrial complexes.
What SLA materials are there?
What is the SLA material?
Resin 3D printers cure liquid photopolymers (resins). These resins vary by monomers, oligomers, and photoinitiators in the blend. Therefore, they differ in:
- Wavelength required for curing;
- Exposure time for solidification;
- Stiffness and strength;
- Highest possible resolution;
- Biocompatibility;
- Chemical and mechanical Resistance.
As a result, resins aren’t commonly interchangeable meaning SLA resins won’t work on DLP printers.
Some resin grades are developed with add-ins for different manufacturing and prototyping needs.
Common UV resin types in 3D printing
- Standard resin – usually just “resin”. It’s a general-type photopolymer suitable for most applications. Objects printed with standard resin come out solid and tough with some rubbery texture to them. The most basic among standard resins is translucent orangy resin as it is the most sensitive to UV light.
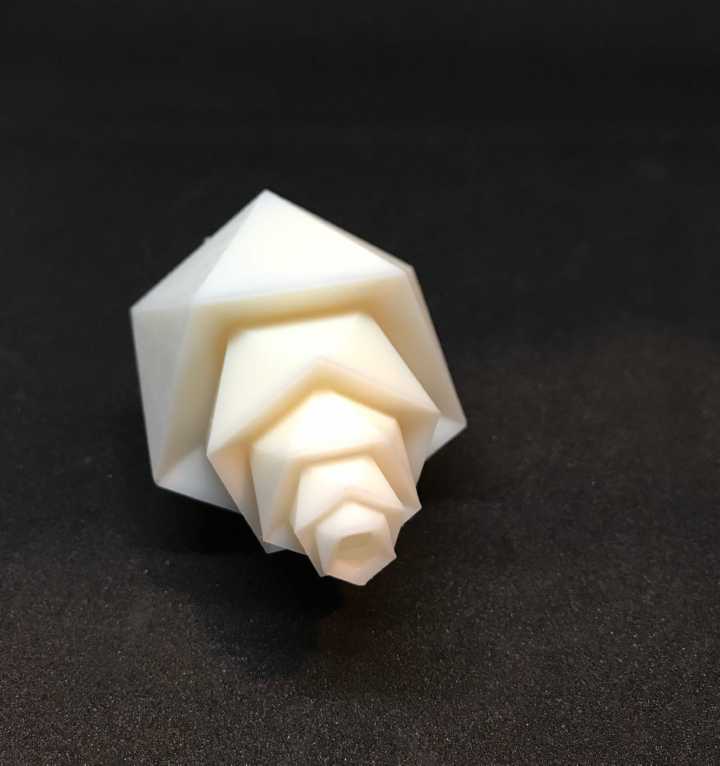
Resin part by Harp Concepts
- Glass-reinforced resin – polymers of this kind have glass additives for improved strength. Prints come out more rigid and tough and resistant to deformation and wear.
- Durable resin – a type of material that is designed for parts exposed to mechanical stress and wear. Usually, they will have some flexibility in the cured part. Compared to non-photopolymers, it’s quite similar to Polypropylene (a material used in tough jerrycans).
- Flexible resin – solidifies to “rubber” like material and provides elasticity and flexibility. It’s widely used in bendable prototypes, which can keep their form through deformations.
- Tough resin – sometimes described as “ABS-like” material for its increased stiffness properties. It’s used for tough parts and prototypes which will be subject to stress without deformity. Prints aren’t that elastic like the ones printed with ordinary resin, but they are able to keep their structure well.
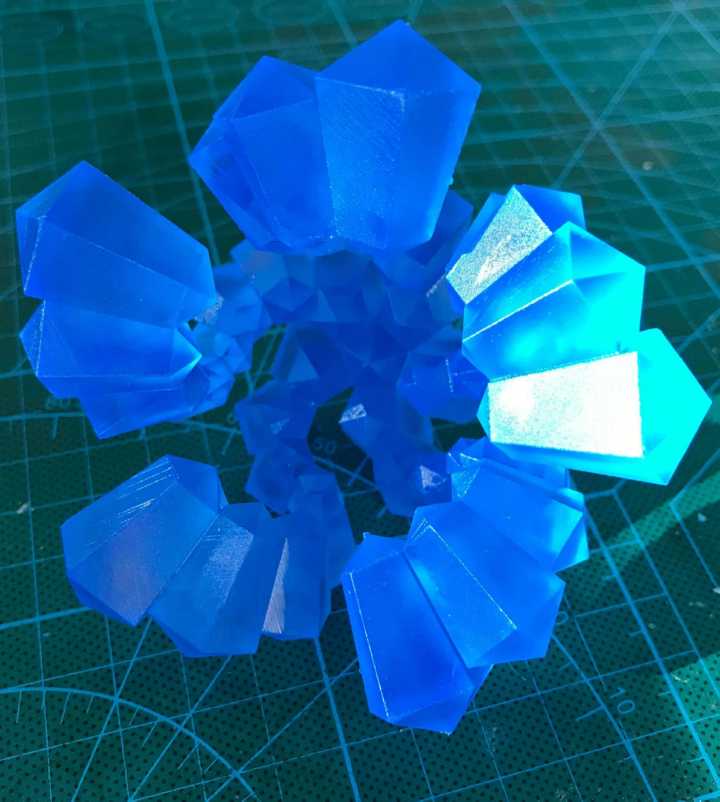
Tough Resin by Harp Concepts
- Dental resin – some photopolymers are biocompatible and can be used in the medical industry for end-use products and devices like retainers. They are also resistant to wear and deliver precision while forming an object.
- High-temperature resin – created for prototypes and parts that face high temperatures or even direct flames from a fire. Depending on the manufacturer, prints can withstand temperatures up to 536 degrees Fahrenheit (280 degrees Celsius).
- Castable resin – the material for mold-makers and jewelers. Aside from producing accurate structures, this range of resins can be used in creating master models for investment casting, delivering no ash and clear burnouts.
- Shell casting resin – a type of resin that can be used in shell casting to create soft parts. The print is a mold itself, which reduces the time and costs of the process.
- Ceramic resin – is a photopolymer with ceramic additives created for prints to mimic objects made from ceramics. If made with such resin, an object would feel, look and act like a true ceramic part, keeping all geometrical possibilities of resin printing.
- Clear resin - a special grade of resin that allows for glass-clear finish without any tint to it. After sufficient polishing, clear resin prints can reach nearly optic transparency, which is harder to achieve with so-called “transparent” colors or other resins.
- High-detail resin – these resins have different names depending on the manufacturer. However, the key factor is that improved formula and color helps to achieve better resolution thanks to photopolymer reacting better when exposed to a light source. Usually, these resins are dark – like deep black, but since more precision is possible with them, the trade-off is worth it.
What colors are possible? Some Resins are compatible with pigments and dyes, which makes it possible to achieve almost every shade needed. Additionally, some grades allow being mixed with luminophore solvents for glowing in the dark parts.
What are the advantages and limitations of resin 3D printing?
Resin 3D printing methods vary and each technology has peculiar factors to it. It also depends on machine specs like the power of a light source, build volume, firmware as well as properties of photopolymers used.
Advantages of Resin Printing:
- Great details. Photopolymers are loaded into a printer as a liquid, so they are easier to shape in complicated geometries than melted plastics.
- Smooth surface. Layer lines are still present in resin printing but they are competitively small and nearly invisible on some colors of resin.
- Wide variety of materials. The market range of resins manages to cover all common applications and needs, and the list is growing rapidly. Each photopolymer resin consists of working components required for the reaction and additives like dyes, visual and functional supplements.
- Supports don’t ruin the surface that much. The resin tank is filled with resin all across the perimeter, so if there are some lightweight overhangs, they just can be attached to the main body of a part while curing.
- High speed. Compared to other prototyping methods, resin printing is much quicker, and modern machines can be extremely fast.
- Lower costs. For some applications like prototypes, custom dental devices, and master models for jewelry, resin printing saves the budget.
- Prints are waterproof. Compared to plastics or powder materials, photopolymers come out solid and waterproof, they don’t absorb moisture from the air, and most of them can be used for water-tight applications.
Disadvantages of Resin printing
- Many machines have a small build volume. Large size objects would be quite expensive to manufacture because an industrial grade unit is required. It will need to fill the whole tank for tall prints with expensive photopolymer – and for industrial machines that can be counted in tons increasing job’s costs.
- Design limits and requirements. Resin printing still has a list of things that need to be included into a project while preparing it for production. For example, engraved details should be at least 0.4 mm wide and thick. Part orientations and mesh quality also influence the printing, so some knowledge and experience are required for a model to be made perfectly.
- Many supporting structures. For the best quality, experts advise on placing an object a certain way that it won’t touch the plate and “fly” with a 45 angle. This results in many supporting structures that, after being cured, are solid and can’t be recycled into a fresh resin.
- Mandatory post-processing. We have already mentioned at least 3 necessary post-processing steps required to prepare parts for use.
- Curing keeps running after the printing ends. Polymerization is a tricky thing – after the resin is formed into an object, some reactions continue inside the part (that’s why post-curing is important). Depending on the part and material, this can lead to shrinkage, cracks, and deformity.
- Costs. We weren’t kidding when we said resin printing is more affordable today. However, it’s worth noting that for technologies like SLA, “affordable” is around $3,500-4,000 for a desktop machine, and $100-200 per liter of resin. As for industrial grade machines, prices may range between $80,000-250,000 per unit.
- Tricky resolution. An interesting fact about resin printing is that resolution parameter (precision/quality) depends on several factors like resin type, part’s orientation, firmware, etc.
How do you use SLA and Resin 3D printing
Vat polymerization, in general, is quite a flexible fabricating method with a range of materials and technologies suitable for many industries and tasks. Generally, it revolves around applications requiring good digitalization and perfectly smooth surfaces.
Jewelry making
Precise, smooth and good-looking models are produced from Resin in short time periods. Using castable material, these prints can be sent straight to casting services to create the final piece in metal.
Alternatively, it can be used for making the mold itself, skipping the intermediate model. To find out more about resin printing and other technologies for jewelry, check our manufacturing guide.
Dentistry
In this industry, resin printing helps to produce both training models and end-use devices. Custom dental devices like bridges, crowns, aligners, night guards, impression trays, surgical drill guides, splints, and more can be printed from a biocompatible “dental” resin. Traditionally, every correcting dental device must be custom-made, which can take many steps and much time to get manufactured. With CAD compatible software and resin printers, specialists can create those easier and quicker straight from a CT scan (with minor improvements to the 3D model). More information on resin printing in dentistry.
Animation and props
Computer-generated imagery is now commonly used in visual graphics, films, and cartoons. However, props and real action models are still in use. Designers, animators, movie-makers, and toymakers use them for better quality, for improving their digital design or straight up in making films. There are several 3D printing methods that work for these industries and vat polymerization is one of them, especially when props are small and detailed.
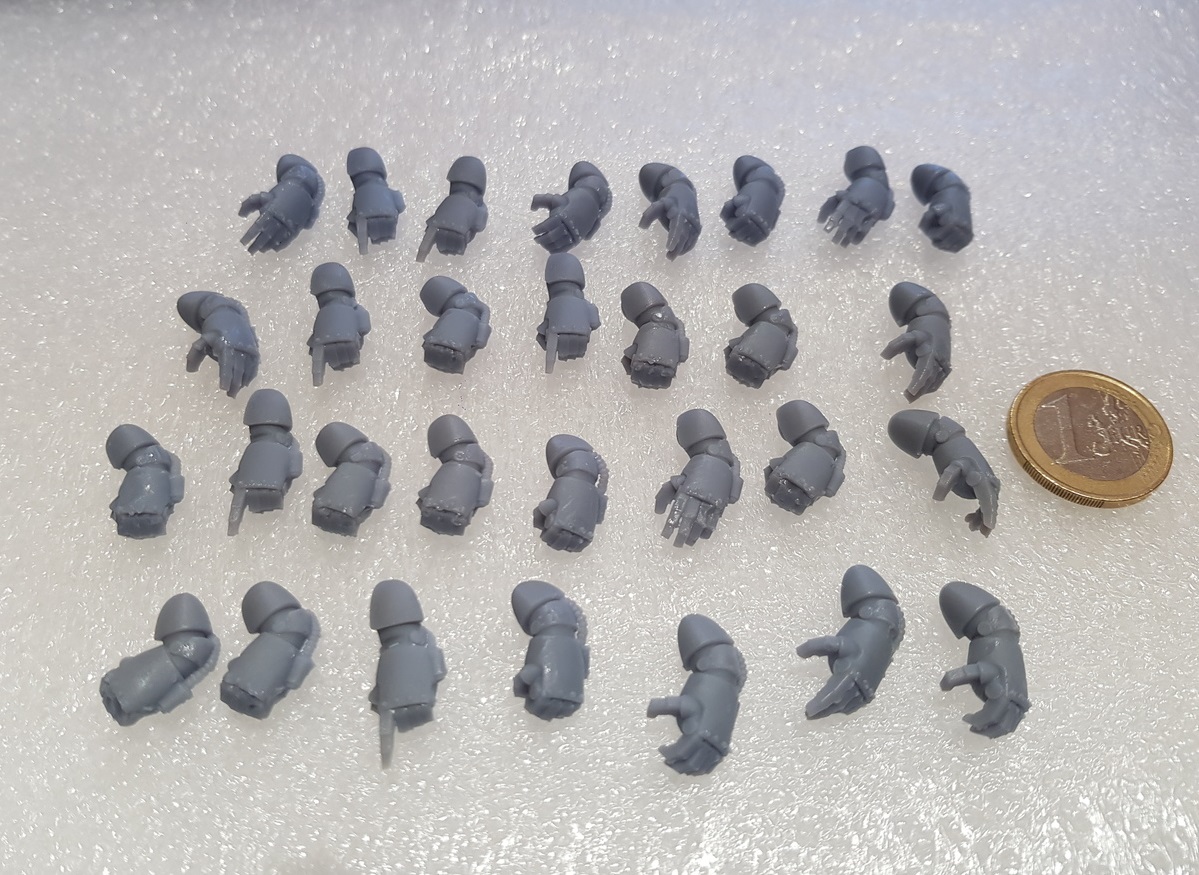
Miniatures
Resin printing is popular among tabletop miniature makers. This includes gaming fans, collectors and hobbyists of all sorts. Miniatures can be used directly after they are built and post-processed or can serve as a model for creating a casting mold.
Prototyping and product development
For large size objects with simple geometries, resin printing may not be the best choice due to its costs. However, products with complex forms and textures would look amazing with this method. Prototypes and demonstration models would be precise, impressive and functional. Specific resin printing technologies, like PolyJet or MJ, full-color and multi-textured objects can be created in one go.
What different resin printing technologies are there?
All of the resin printing technologies have the same working principle but differ by light sources and ways of curing. SLA, DLP, DUP and CLIP methods have more in common, while PolyJet, MJM, and MJP sufficiently differ from those.